
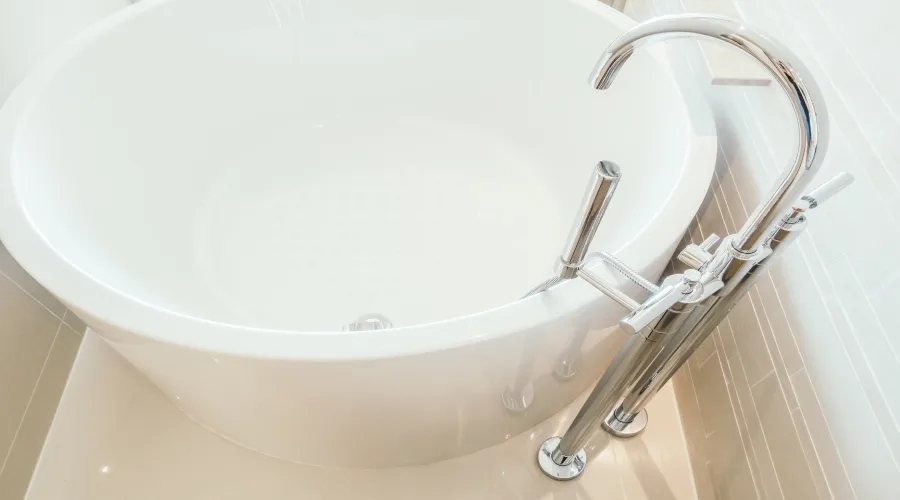
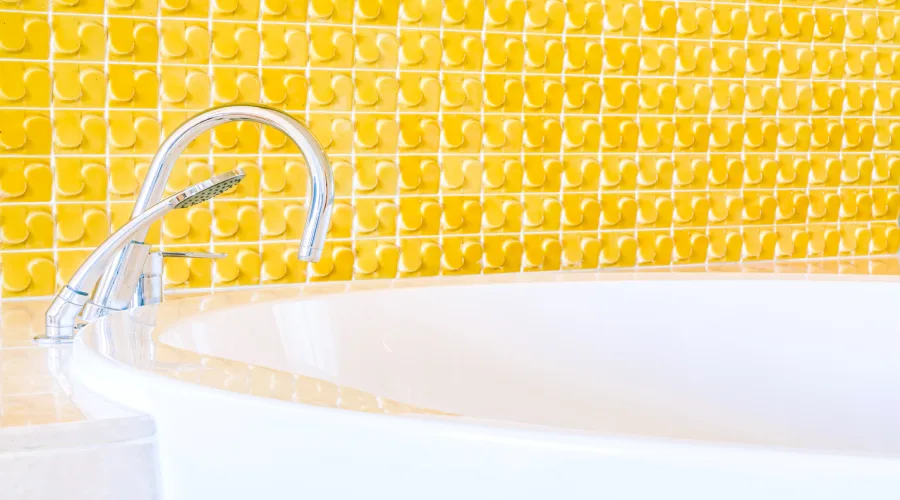
Showers and bathtubs made of fiberglass are strong, used in Bathroom Remodeling, easy to maintain, and stylish fixtures, however, they can nevertheless be damaged by accident. For homeowners, there are kits that are affordable for users to perform repairs should this happen.
Repairing A Fiberglass Tub
However bad an indentation or crack might appear, the process is exactly the same as it would be an insignificant pit. It's extremely easy. Utilizing a basic epoxy kit that includes a handful of basic items, fixing fiberglass tubs can take just a few hours, and the majority of the time is spent while the compound is dried.
Materials And Tools Required
It generally needs only the simplest equipment. To begin, you'll require an ordinary household cleaner as well as a sponge for cleaning the area prior to beginning. Additionally, you'll need:
Protective equipment (goggles or respirator, and gloves)
Tool For Rotation
- Drill
- 80-grit sanding paper
- Fine sanding paper with grit
- Cellophane tape
- Two-component foam
- Fiberglass mesh/cloth
- Fiberglass repair kit
What To Look For In The Bathtub Repair Kit
To make the repair easy and easy, you should look for an all-inclusive kit with everything you require to repair the majority of problems. The most basic kits contain:
Polyester resin/epoxy, in putty or paste form
- Liquid hardener
- Mixing stick, mat or tray
- Sandpaper made of different grades
- Protective gloves
- Colorants for the common tub hues (i.e. off-white, almond) should be used
- Polishing polish for finishing
For more extensive pits and cracks, It may be necessary to buy fiberglass mesh in order to support the putty and reduce the chance to dimple. It is generally recommended to apply mesh to cracks that are larger than a quarter-inch, or an open space that is too big to fill by using the resin mix by itself. The more extensive issues caused by poor installation or support might require drilling holes that are shallow in the tub, then filling those holes with two-component foam and then adding fiberglass patches prior to applying a refinishing kit.
Fiberglass that is foolproof and Porcelain Bathtub Maintenance Tips to Maintain Your Tub in Top In Excellent
- Clean After Every Use. Soap residue, bacteria, and other debris may all get accumulated on your bathtub after each use. ...
- Do not use abrasive cleaners. ...
- Remodel Your Tub.
What Type Of Repair? Crack, Chip, Or Hole
Examining any damage to the material is the initial step in determining the kind of repair required. With time, frequent use could leave acrylic, fiberglass as well as other shower materials susceptible to cracking and chipping. So Shower Remodel Los Angeles is ensured to solve your all problems and see about all the cracks and damages and also repair. If something heavy falls onto surfaces, it can cause a massive crack or even a large hole particularly if the base isn't well-supported.
The smallest cracks, chips, and scratches might require a simple filling and refinishing. However, for more extensive ones, a professional must tackle the root of the issue and provide additional structural support prior to finishing and patching the base.
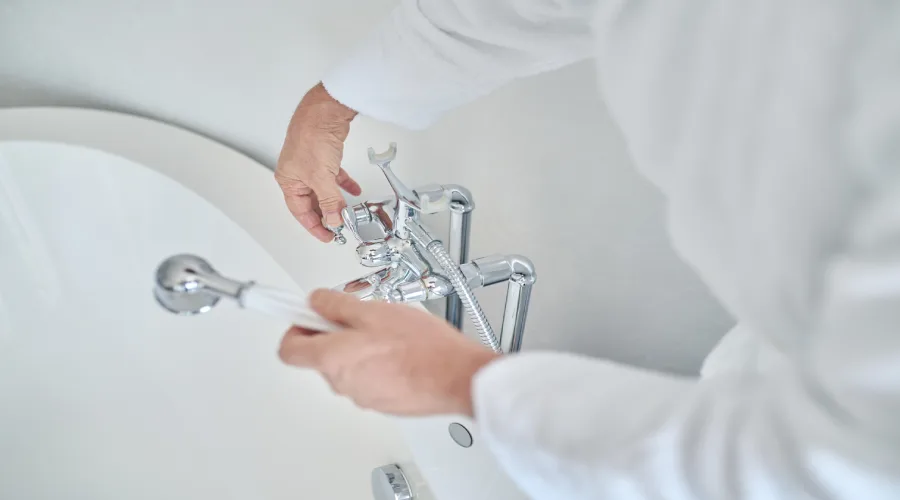
How To Patch And Fill The Holes In A Fiberglass Bathtub 7 Steps
In this case, I was patching screw holes that were left over when I removed the shower door made of glass from the surround for my shower tub. I ended up having a total of six holes to fill and I purchased 2 kits and completed one section (3 holes) at each. This Playlist showcases the entire work on the YouTube Channel.
Part Of The Area By Using Painter's Tape
Before using an epoxy set-up, prepare the surface by separating the holes using a painter's tap. I prefer to create boxes within each one of my holes. It will hold the epoxy once it has run and will aid later when you are sanding your area. Also, make sure there are no loose bits and is free of any oils or leftovers.
Mix And Squeeze The Epoxy
Utilizing this Devcon Repair Kit, press the epoxy off at the base of the package. Continue mixing it with your hands for approximately 45 seconds to make sure you have a full mix. (I added the almond-colored epoxy as my tub was colored almond.)
Fill In The Holes Using Epoxy
Utilizing the toothpick, you can place the epoxy directly into the screws' holes. It's fine when it spills out a bit. It will be added more epoxy as you move to the next stage. Because my holes were small, I only used epoxy when you have a bigger hole and require additional strength. The kit comes with a fiber mesh that will fill the hole larger and give you extra-strength after drying.
Brush Additional Epoxy For Holes
Spread the epoxy. Make sure to increase the amount so that you've got a little. Do not worry, I'm sure it looks a bit gunky! The zip-lock plastic sheets for smoothing it later in the process.
Place The Plastic Onto The Epoxy And Tap On Top Of Them
Put the sheet of plastic over the holes that are filled with epoxy. After that, tap the surface to push air bubbles removed and smooth the surface. Be assured that once it's dry (I allowed it to dry for a couple of hours) the ziplock's bad end will fall off without a problem.
Sandpaper On The Holes
The plastic sheet is removed and then sand the epoxy using 60 grit Sandpaper. This is the sandpaper with the highest roughness I've used, and it's designed to swiftly remove excess epoxy. Don't sand the exterior of your tub's surround with this sandpaper, as it can take away the final.
Peel Tape Off And Sandpaper Once More
Remove the tape that was used to paint and then go over the epoxy using more sandpaper. Switch to 320grit the sandpaper, then keep sanding. Then, switch to 600 grit, and keep sanding until it is smooth.
A tip to remember: add some water onto the surface while you sand to get the smoothest surface.